
Use the Signup Form
The signup form is the block of the Landing Page Builder that turns a visitor into a client. This is where you choose which details you ask for, what people read on the page, and whether new signups join your workspace straight away or wait for you to review them.
Before you start
You need a landing page to put the form on. If you have not made one yet, start with Create a Landing Page.
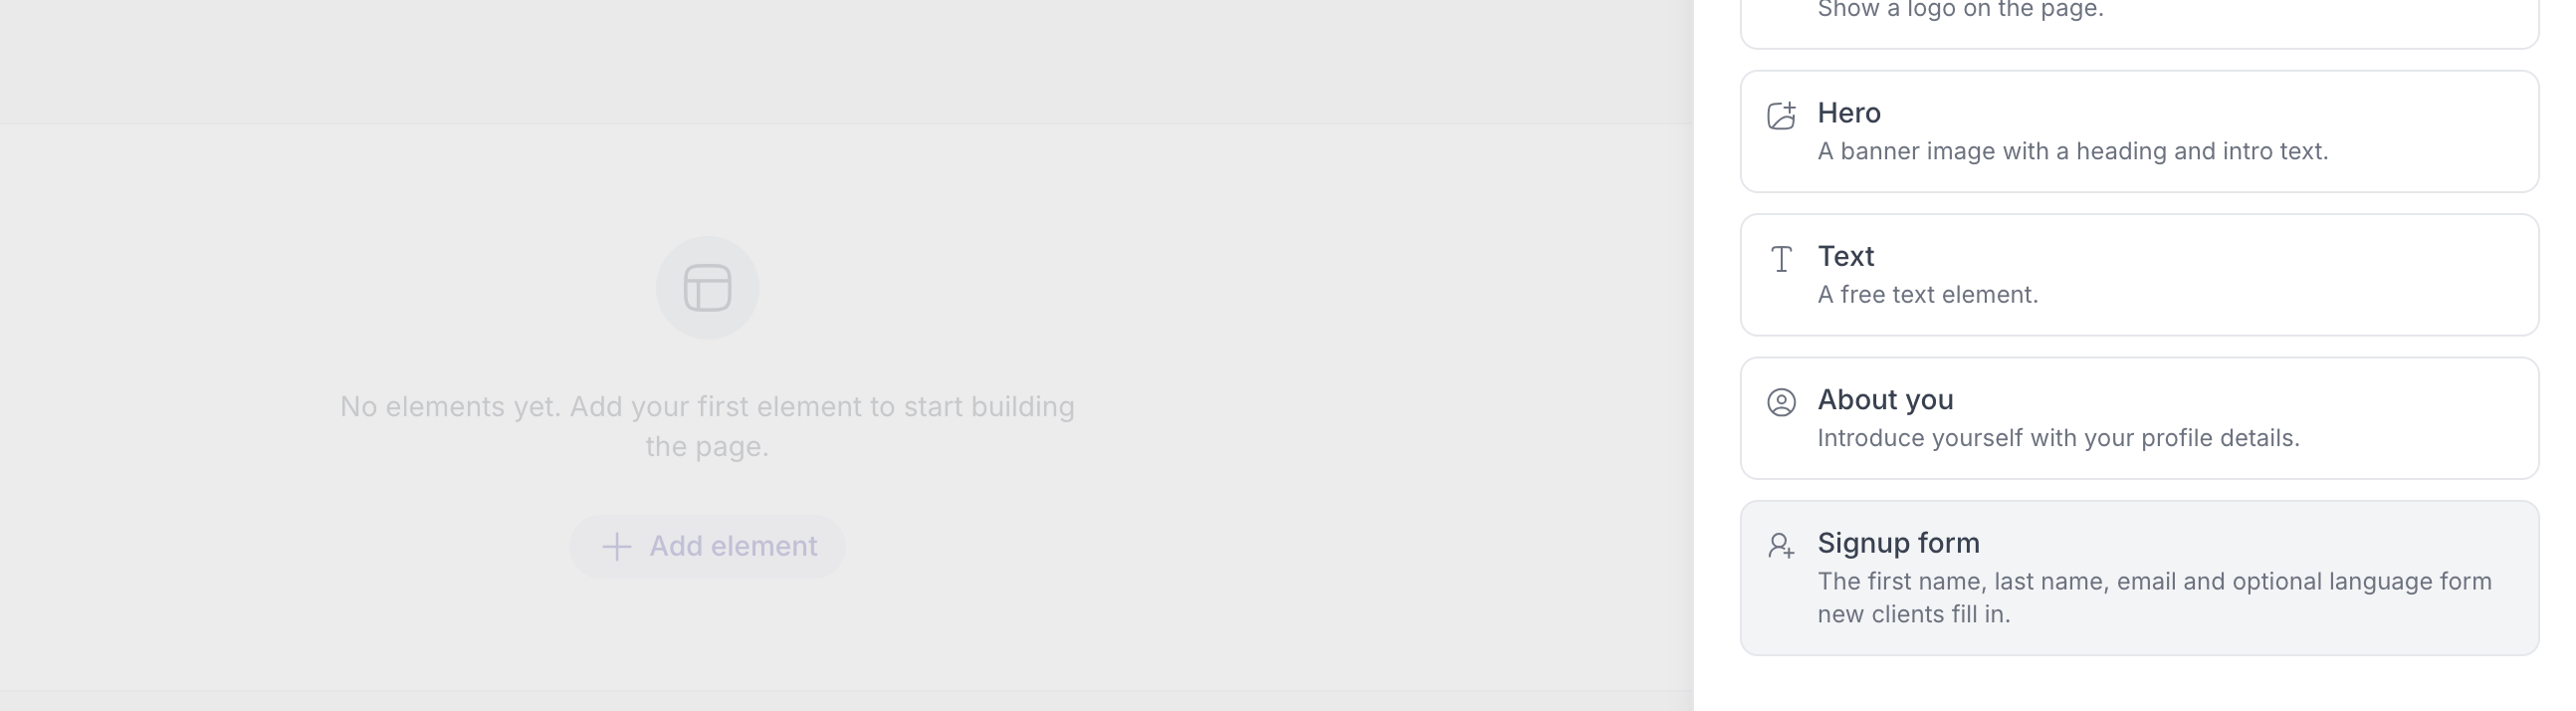
- Open your landing page on the Content tab. If the page does not have a form yet, click Add element and choose Signup form.
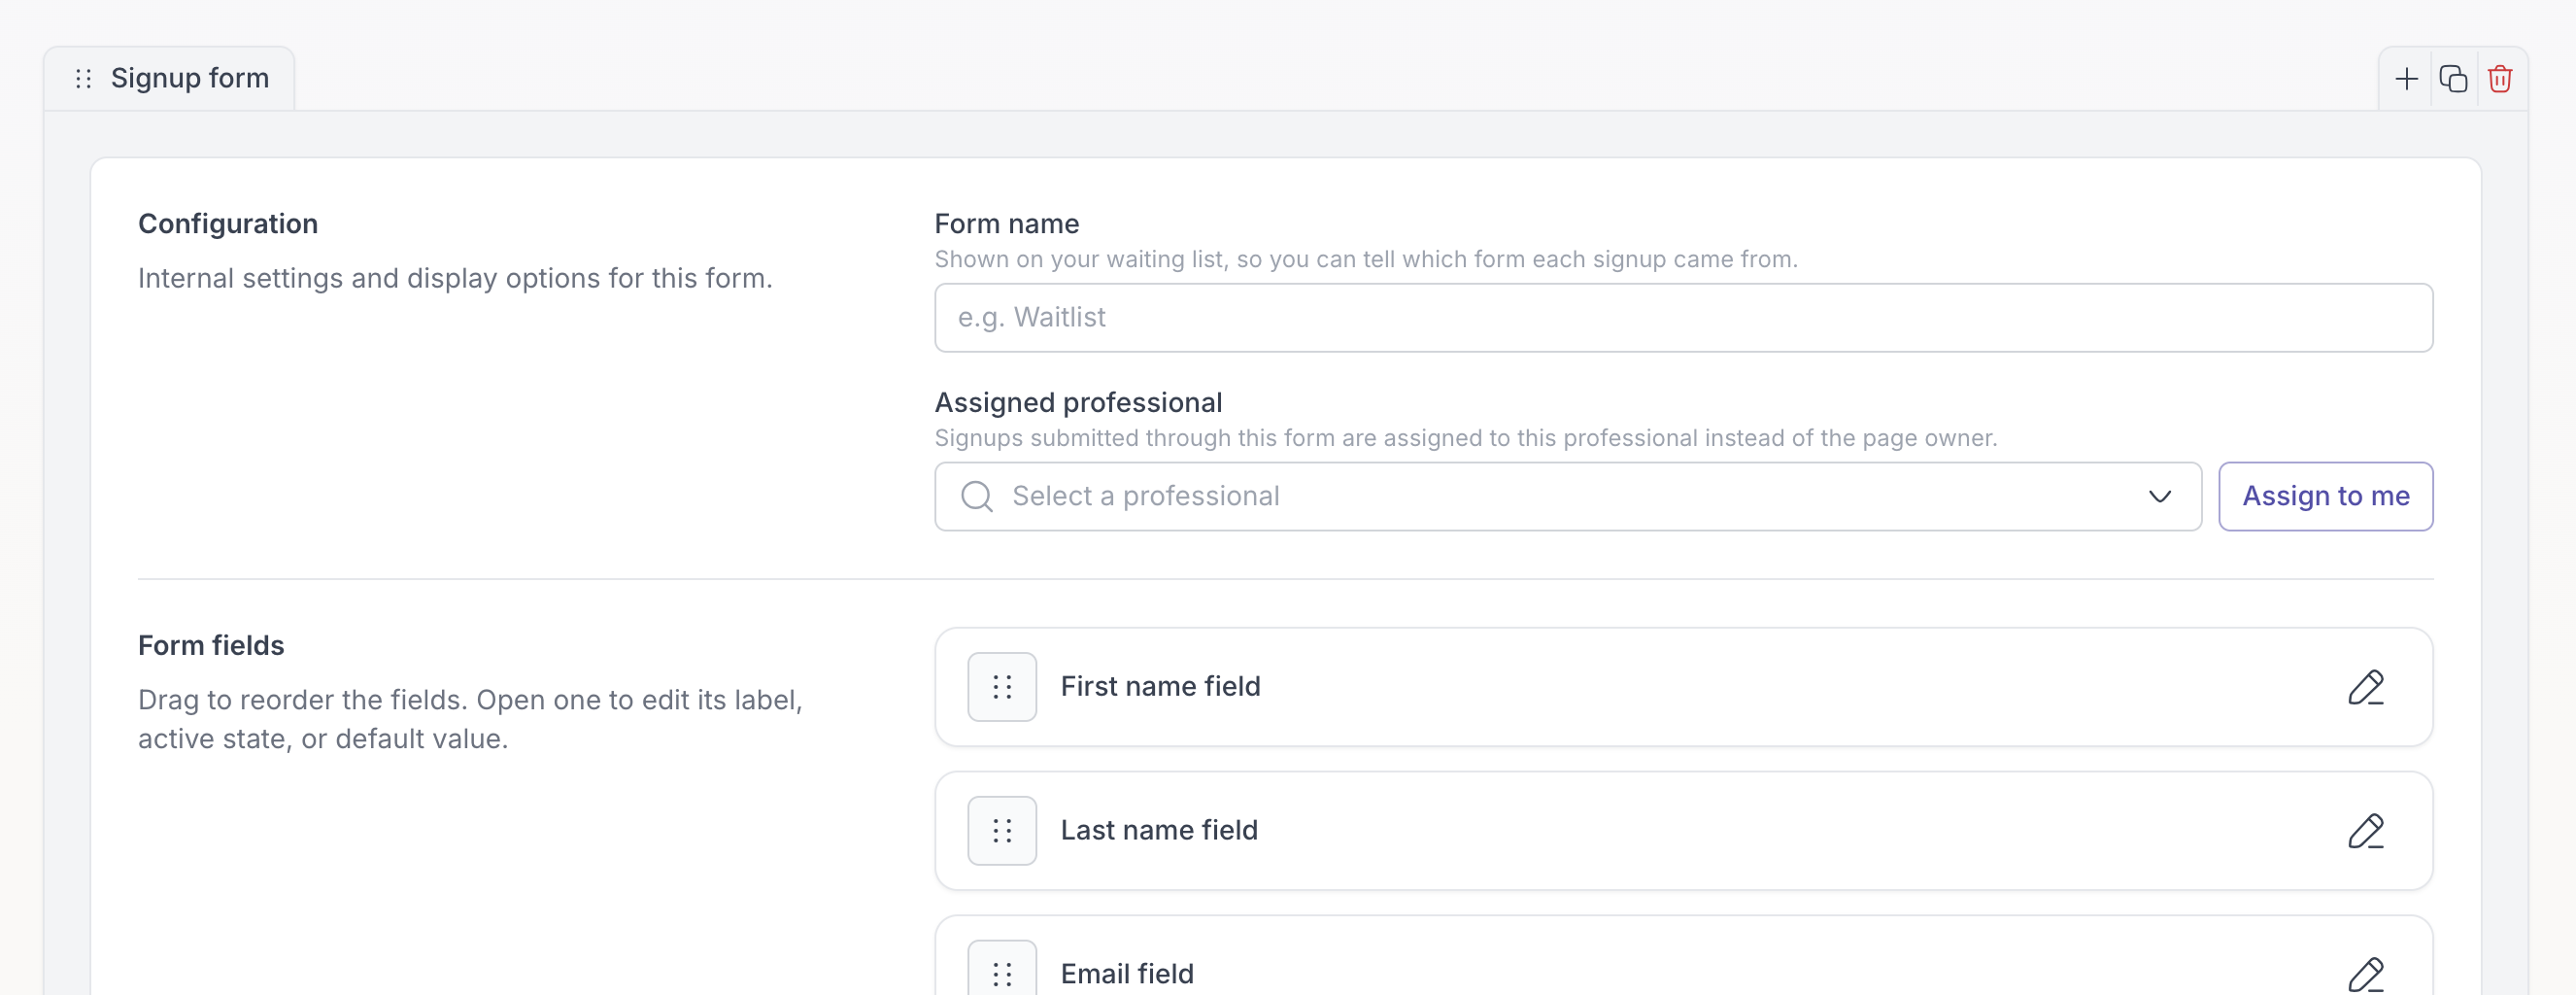
- Click the Signup form block to open its settings.
- Fill in the basics:
- Form name is an internal label for your own signup list. Visitors never see it.
- Assigned professional decides who the new client is assigned to. If you leave it empty, the professional who created the landing page is used.
- Choose your Form fields. You can reorder them, rename their labels, set a default value, or switch a field off. First name, last name, email, and language are available. Ask for as little as you can. Every extra field costs you signups.
- Set the wording. Translations holds the text on the button and the privacy note underneath it. Confirmation message is what people see once they have confirmed their email address. Leave it blank to use the standard wording.
- Choose a Signup mode:
- Auto accept turns new signups into clients right away, and moves them to your waiting list if your plan has no room.
- Waitlist sends every signup to your waiting list so you can review each one.
- Choose a Signup type:
- Client creates a full client who is emailed an invitation to set up their account.
- Guest adds them without an account or login, and you can invite them to create one later.
- Under Automation, pick anything a new signup should receive automatically. See Set Up Automations for what you can deliver and when it runs.
- Click Save changes, then Publish changes so your visitors see the new form.
What happens when someone signs up
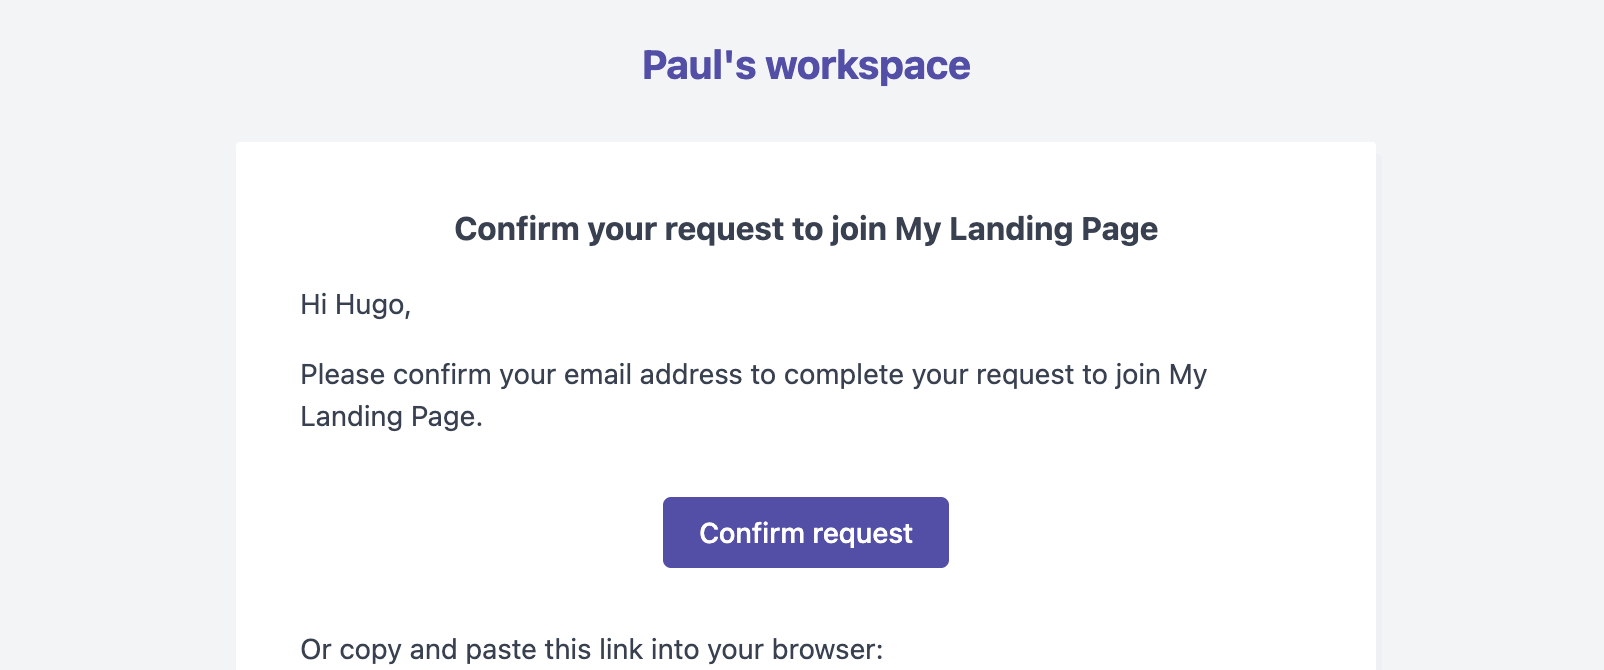
Someone fills in your form and receives an email asking them to confirm their address. Until they click that link, nothing happens in your workspace. The link is valid for 24 hours.
Once they confirm, one of two things happens. If the form is set to Auto accept and your plan has room, they become a client or guest immediately and any automation you set up runs. Otherwise they join your waiting list and you are notified by email.
Review people on your waiting list
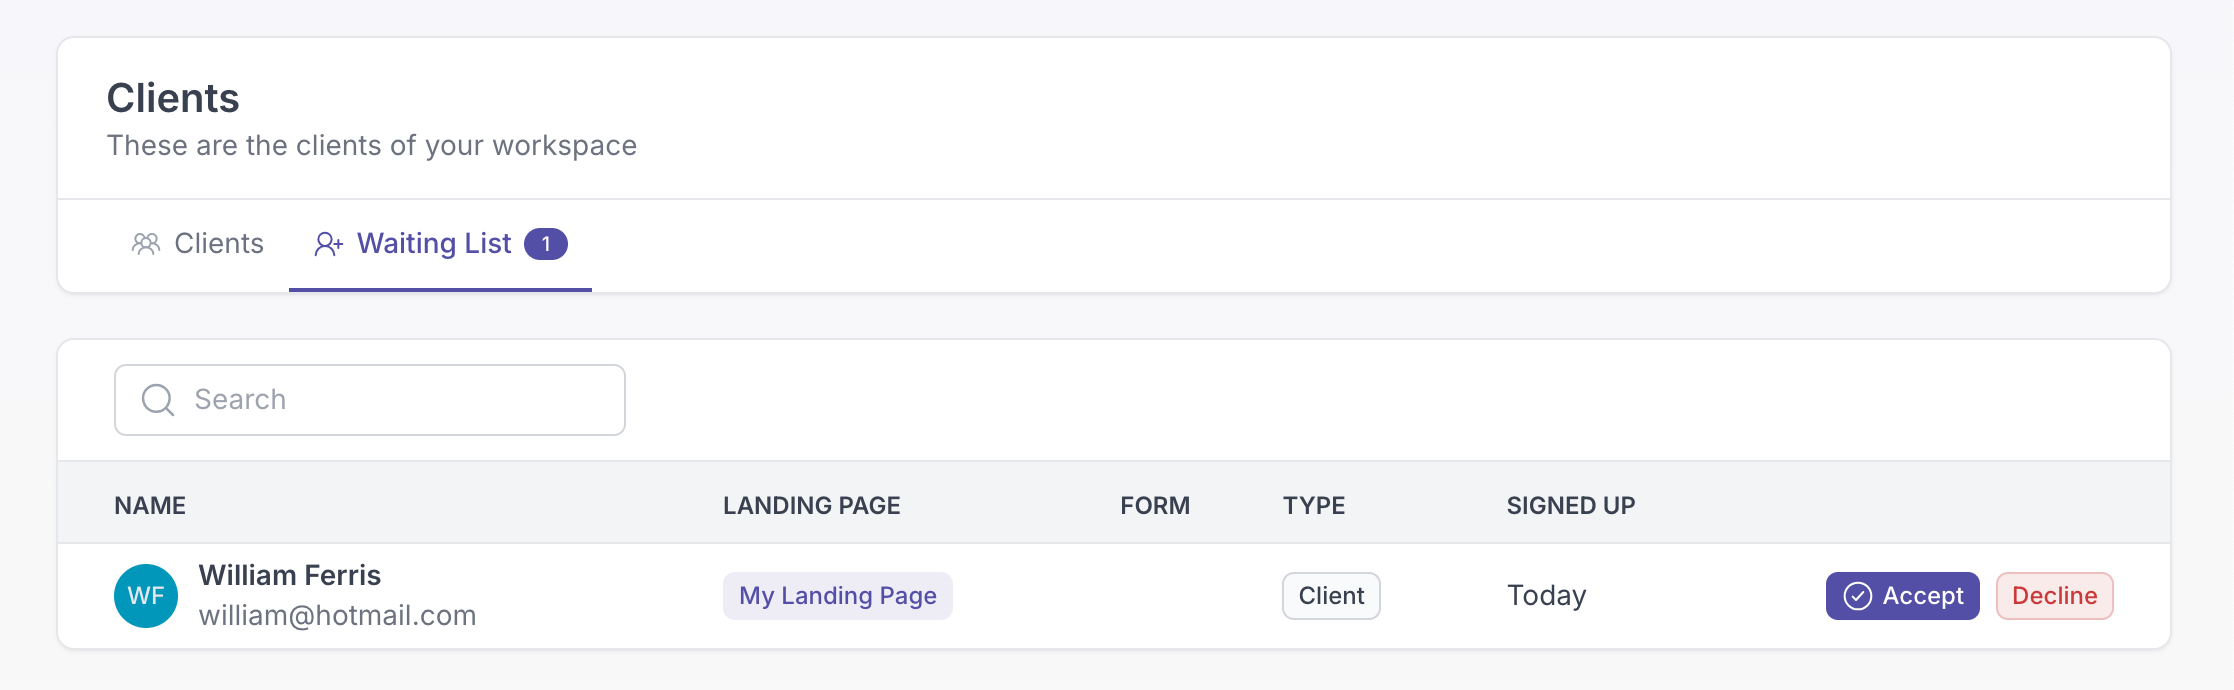
Open Clients and select the Waiting List tab. Each row shows who signed up, which landing page they came from, whether they will be added as a client or a guest, and when they signed up.
- Accept adds them to your workspace and runs the automation you set on the form.
- Discard removes the request and adds nobody. You can choose whether to email them about it.
From here on the form does the work. Everyone who signs up and confirms their address lands in your workspace with the right professional attached, so you can pick up the conversation instead of setting them up from scratch.